Best Peptides for Fat Loss Research 2026: A Comparative Guide
Why are 68% of metabolic studies still struggling to differentiate between simple appetite suppression and genuine cellular lipolysis? You’ve likely...
 Are you over 18 years old?
This website requires you to be 18 years or older to enter our website and see the content.
Are you over 18 years old?
This website requires you to be 18 years or older to enter our website and see the content.

Setting up a science space, whether it’s for a school project or serious research, really comes down to having the right science lab supplies. It’s like stocking a kitchen – you need the basics to get cooking. From measuring liquids precisely to keeping yourself safe, the tools you pick make a big difference in how smoothly your experiments go. Let’s talk about some of the must-have science lab supplies that help turn curious questions into actual discoveries.
Getting measurements right is a big deal in science. If your numbers are off, your whole experiment can go sideways. That’s why having the right tools for measuring is so important. It’s not just about having a tool, but having the correct tool for the job.
Beakers and flasks are workhorses in any lab. You’ll see them everywhere, holding liquids, mixing solutions, and even heating things up. Beakers are usually cylindrical with a flat bottom and a spout for pouring. They’re great for general mixing and holding liquids, but they aren’t the most precise for measuring volumes. Flasks come in different shapes, like Erlenmeyer flasks (conical) and volumetric flasks (with a narrow neck). Erlenmeyer flasks are good for swirling and mixing without splashing, while volumetric flasks are designed to hold a very specific volume of liquid when filled to the mark on their neck. Choosing the right glassware can make a difference in how well your solutions mix and how accurately you can measure.
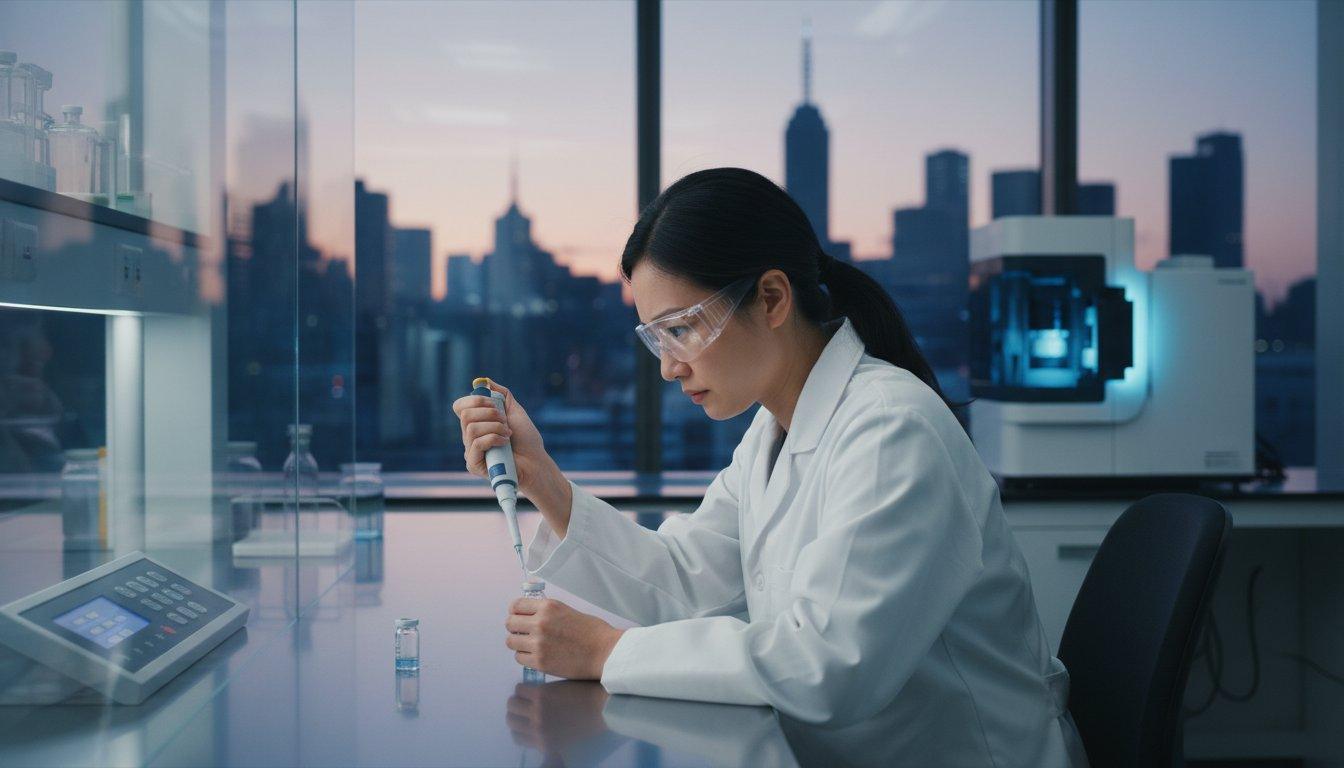
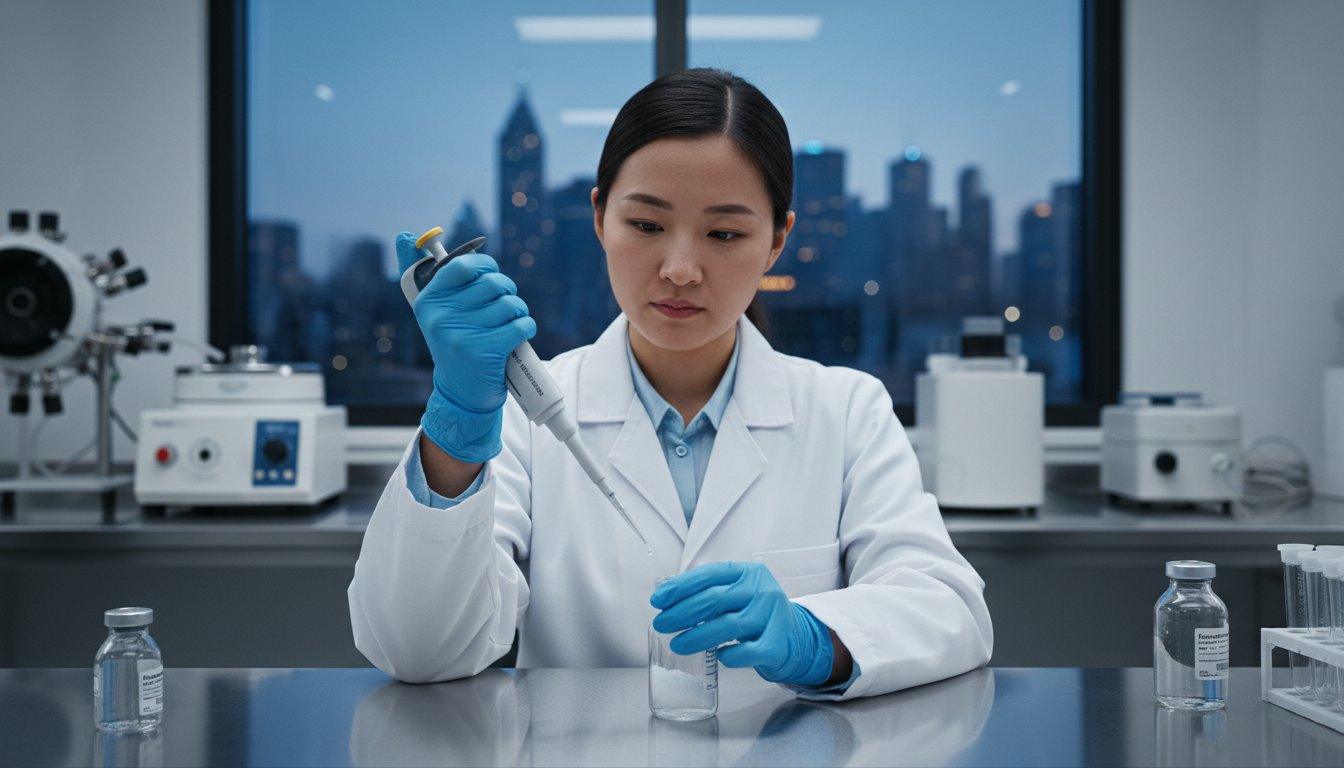
When you need to move small, exact amounts of liquid, pipettes are your go-to. There are a few kinds. Volumetric pipettes are made to deliver one specific volume, and they’re very accurate for that job. Graduated pipettes, on the other hand, have markings along the side so you can measure and dispense different amounts. For really tiny volumes, like in molecular biology or chemistry, you’ll use micropipettes. These are super precise instruments that use disposable tips. It’s important to use the correct size pipette and tip for the volume you’re measuring to get the best results.
For measuring liquid volumes more accurately than a beaker but with more flexibility than a volumetric pipette, graduated cylinders are the answer. They are tall, cylindrical tubes with markings along the side indicating volume. You fill them to the desired level and then pour. It’s important to read the volume at the bottom of the meniscus (the curve the liquid makes) at eye level to get an accurate reading. They come in various sizes, from small ones for milliliters to larger ones for liters, so you can pick the one that fits the amount of liquid you’re working with.
Accuracy in measurement is the bedrock of reproducible scientific results. Without reliable measurements, it becomes impossible to confirm hypotheses or draw valid conclusions from experimental data. Investing in and properly using measuring instruments is not an expense, but a necessity for sound scientific practice.
To truly understand the world around us, especially at the microscopic level, having the right tools for observation is key. These aren’t just for looking; they’re for seeing details that reveal how things work, from the smallest cells to the structure of materials.
Microscopes are like windows into a hidden universe. They let us see things far too small for our eyes, like bacteria, plant cells, or even the intricate structures within a single tissue sample. There are different kinds, of course. Light microscopes are common and use light to magnify. They’re great for general viewing. For really high-powered looks, like at the atomic level, electron microscopes are used, but those are usually found in specialized labs.
When choosing a microscope, think about what you’ll be looking at most often. For general biology or schoolwork, a good quality light microscope is usually sufficient. Make sure it has adjustable lighting and a range of magnification settings.
Sometimes, you don’t need a super-powered microscope. A good magnifying glass, or hand lens, is perfect for getting a closer look at everyday objects. You can examine the texture of a leaf, the details on a coin, or the structure of a crystal. They’re simple, portable, and incredibly useful for quick observations without needing to set up more complex equipment.
A simple magnifying glass can reveal surprising complexity in seemingly ordinary items. It’s a reminder that detailed observation is the first step in scientific inquiry, no matter the scale.
Working in a science lab means you’re often dealing with things that could be harmful if not handled right. That’s why having the proper safety gear isn’t just a good idea, it’s a must. Think of it like wearing a seatbelt in a car; you hope you never need it, but you’re really glad it’s there if something goes wrong.
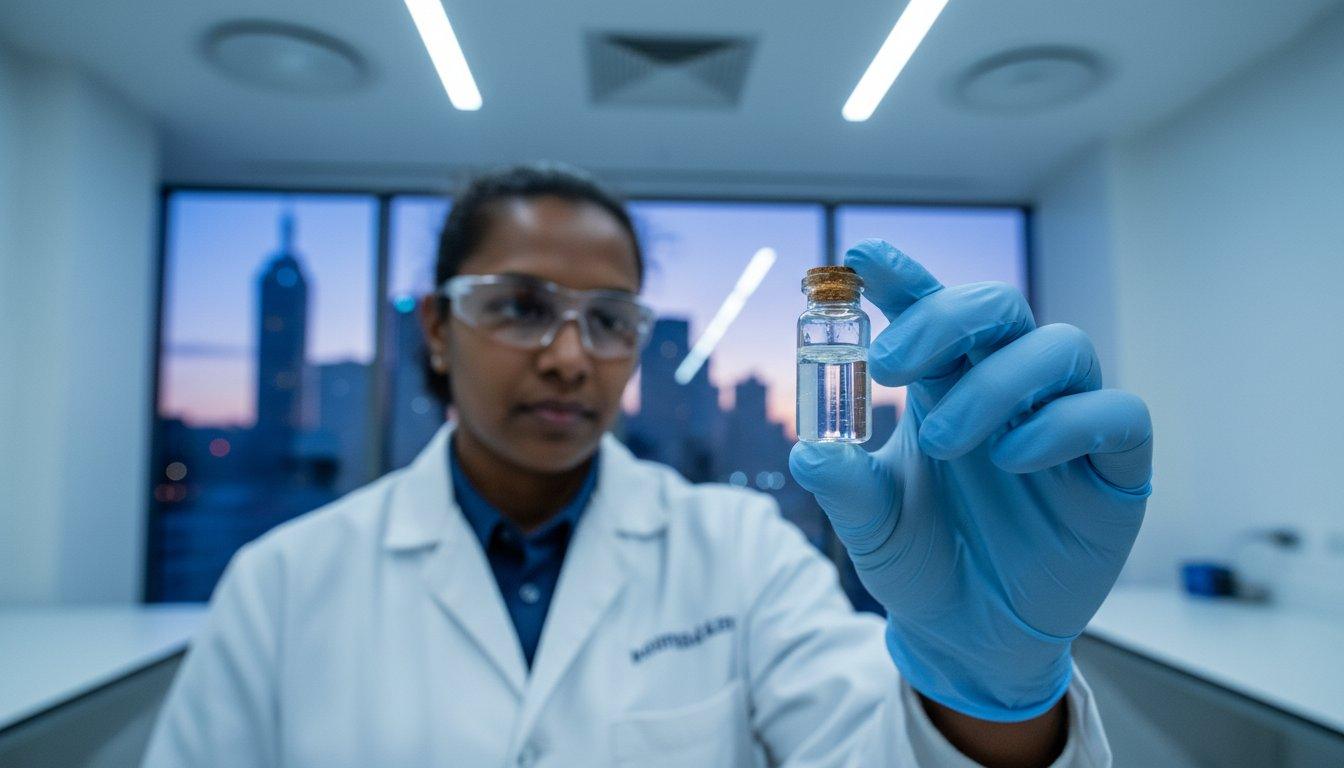
Your eyes are pretty important, and they’re also quite vulnerable in a lab setting. Splashes from chemicals, flying debris from reactions, or even unexpected fumes can cause serious damage. That’s where protective eyewear comes in. You’ll want to look for safety goggles that fit snugly around your eyes, creating a seal to keep out most hazards. Regular glasses or sunglasses just won’t cut it; they don’t offer the same level of protection. Make sure your eyewear is rated for the types of hazards you might encounter in your specific experiments.
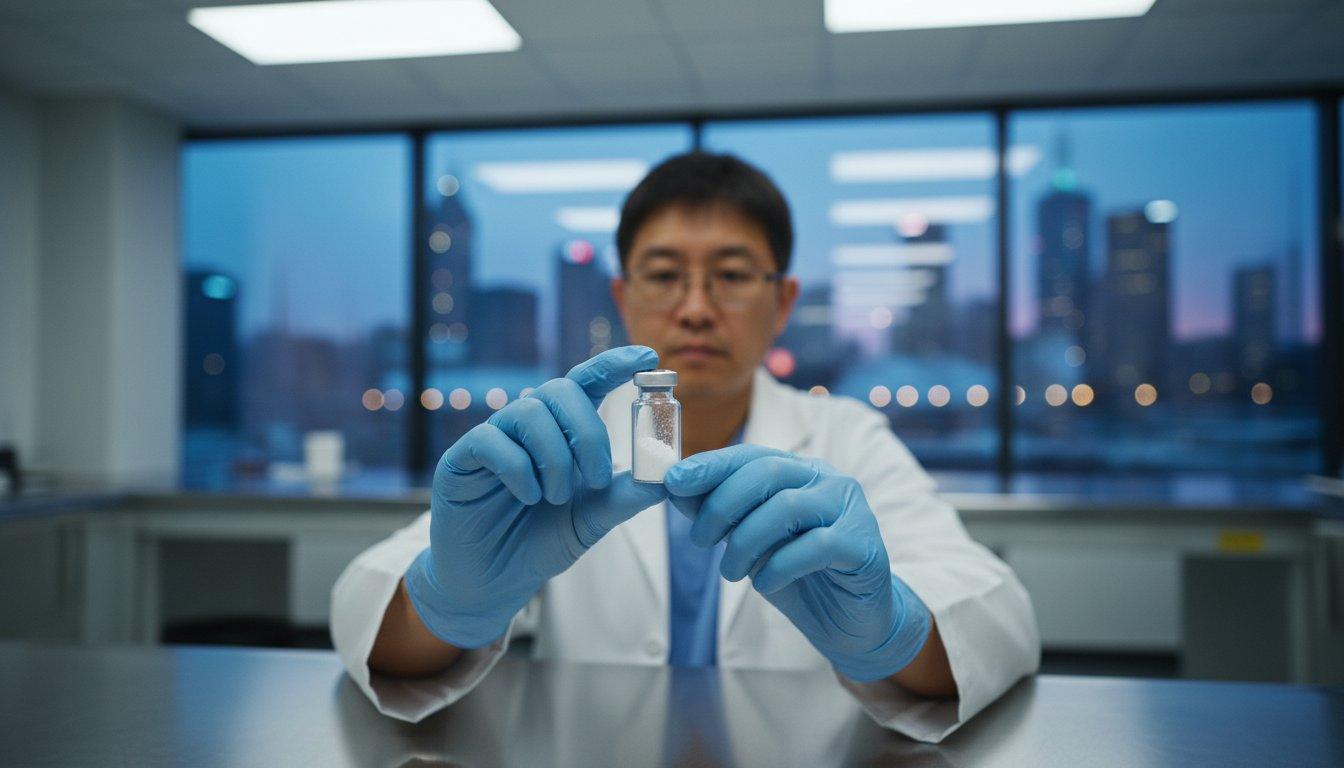
Handling chemicals, biological samples, or even just certain materials can be tough on your skin. Gloves act as a barrier, protecting you from direct contact with substances that could cause irritation, burns, or other health issues. It’s not a one-size-fits-all situation, though. Different chemicals require different types of gloves. For instance, nitrile gloves often provide better protection against a wider range of chemicals than latex gloves. Always check the compatibility of the glove material with the substances you’re working with. Remember to change them regularly, especially if they become contaminated or damaged.
A lab coat is more than just a uniform; it’s a piece of protective clothing. It covers your arms and torso, shielding your skin and regular clothes from spills and splashes. This is especially important when working with corrosive chemicals or biological agents. Look for coats made from materials that offer good resistance to common lab hazards and that fit well enough to stay put without being restrictive. They should also be easy to remove quickly if a spill occurs.
Keeping your safety gear in good working order is just as important as having it. Regularly inspect your goggles for cracks, check gloves for holes, and ensure your lab coat is clean and intact. A quick check before you start can prevent a lot of trouble later on.
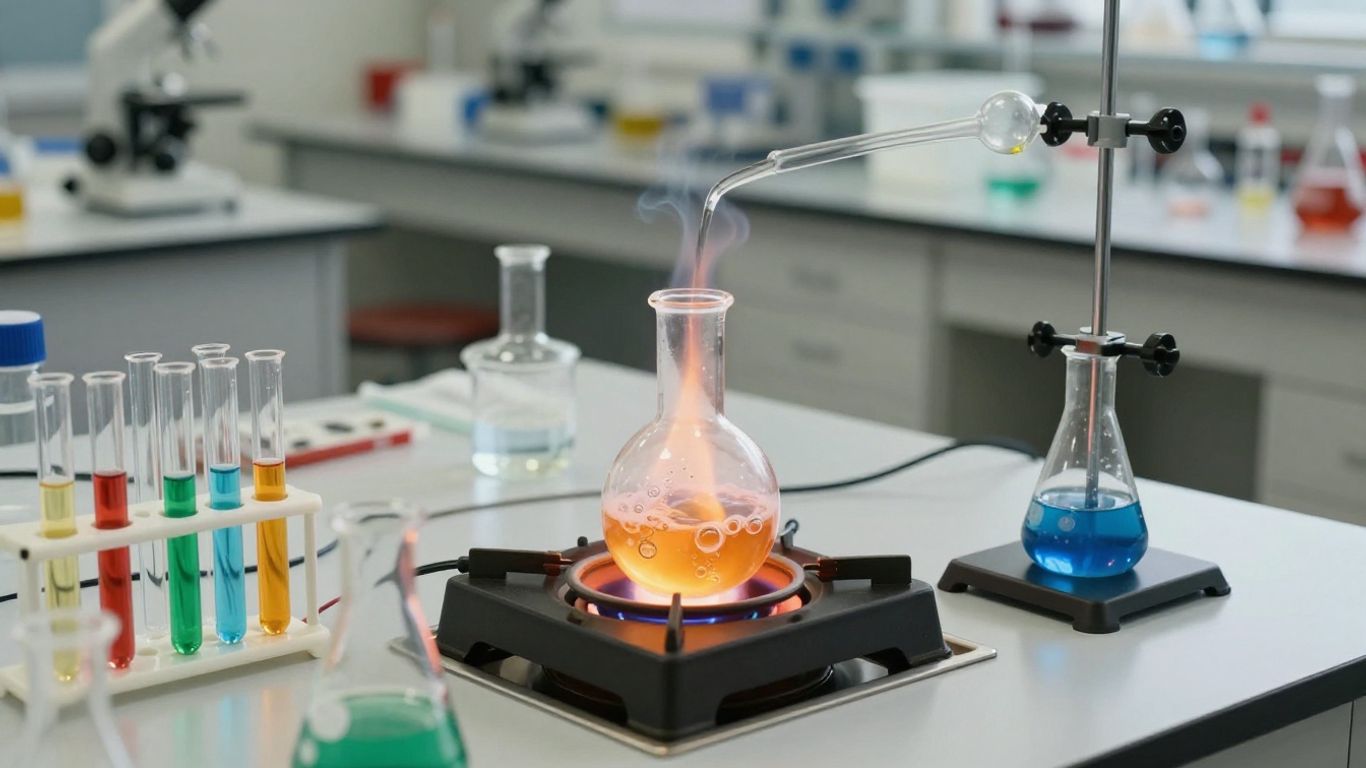
When you’re working on experiments that involve changing temperatures or causing chemical reactions, having the right tools is super important. It’s not just about getting the reaction to happen; it’s about doing it safely and predictably. You’ll find a few items that really stand out in this category.
A Bunsen burner is a classic piece of lab equipment. It provides a controllable flame, which is useful for heating substances directly or sterilizing equipment. The key is adjusting the air hole to get the right kind of flame – a cooler, less intense one for gentle heating, or a hotter, bluer flame for more vigorous tasks. Understanding how to operate one safely is a must for any lab setting. They are a staple in many chemistry classrooms for a reason.
Test tubes are simple, but incredibly versatile. They’re basically glass cylinders closed at one end, perfect for holding small amounts of chemicals. You can heat them directly over a flame (carefully, of course!), mix small quantities of reagents, or observe reactions as they happen. Because they’re made of glass, you can usually see what’s going on inside quite clearly. They come in various sizes, so you can pick what works best for the amount of material you’re using.
Sometimes, an open flame isn’t the best option. Maybe the chemicals are flammable, or you need very even, controlled heating. That’s where a hot plate comes in. You place your beaker or flask on top, set the temperature, and it heats up. Many modern hot plates also have a magnetic stirrer built-in, which is a neat feature. It means you can heat and mix your solution at the same time without needing a separate stirrer. This is great for preparing solutions or running reactions that need constant agitation. You can find a good selection of these for various lab needs.
Working with heat sources in a lab requires constant attention. Always make sure your equipment is in good condition and that you understand its limitations. Never leave heating apparatus unattended, and be aware of what’s around your setup. Safety first, always.
Here’s a quick look at some common heating tools:
When you’re working on an experiment, how you handle your samples can make or break your results. It’s not just about having the right chemicals; it’s about keeping those samples pure and intact from start to finish. This is where a few key items really come into play.
Petri dishes are those shallow, lidded dishes you often see in biology labs. They’re perfect for growing cultures, like bacteria or fungi. You can get them in glass or plastic, and they come in different sizes. The trick is to keep them clean and prevent them from drying out, especially if you’ve got agar in them. Store them somewhere cool and out of the light, and always use sterile techniques when you’re working with them.
Centrifuge tubes are smaller, often conical tubes designed to be spun at high speeds in a centrifuge. This spinning action separates liquids based on their density. Think of separating blood components or isolating DNA. They come in various sizes and materials, like polypropylene. It’s important to pick the right tube for your specific task and to label them clearly. Keep them upright in a rack so they don’t tip over.
Filter paper is surprisingly important for cleaning up liquids. If you need to get solid bits out of a solution, or collect a precipitate, this is your go-to. It’s made from materials like cellulose and comes in different grades, meaning it filters at different speeds and catches different particle sizes. You need to store it somewhere dry to keep it from getting damp or contaminated. Running out of filter paper mid-process can really slow things down.
Proper handling and storage of your samples and the consumables you use to handle them are just as important as the experimental procedure itself. A little care here can prevent a lot of headaches later on.
Here’s a quick rundown of what to keep in mind:
Keeping your reagents organized and stable is a big deal in any lab. You don’t want to grab the wrong bottle or find out your chemical has gone bad because it wasn’t stored right. That’s where good storage bottles come in. They’re not just containers; they’re part of keeping your experiments on track.
When you’re picking out bottles for your chemicals, think about what you’re putting in them. Some chemicals react with certain materials, so you need to match the bottle to the substance. Glass is a common choice because it’s pretty inert, meaning it doesn’t react much with what’s inside. Amber glass is great for things that light can mess with, like certain solutions or compounds that break down when exposed to UV rays. Plastic bottles are lighter and less likely to break, but you have to be careful because some plastics can leach into your chemicals or react with them over time. Always check the compatibility charts!
Here are a few things to keep in mind for reagent storage:
Proper storage isn’t just about preventing spills; it’s about maintaining the integrity of your chemicals. A well-labeled, correctly stored reagent is a reliable reagent.
When you’re dealing with samples that need to be kept super cold, like biological specimens or sensitive reagents, cryogenic vials are your go-to. These aren’t your average test tubes; they’re built to withstand extreme cold, often down to -150°C or even lower, which is typical for freezers or liquid nitrogen storage.
These vials are usually made from special plastics, like polypropylene, that can handle the cold without becoming brittle and cracking. They often have a screw-top lid with a silicone seal to make sure nothing leaks out, even when things get really frosty. Some even have a skirted bottom so they can stand up on their own, which is handy when you’re filling them.
Key features of cryogenic vials:
Remember, the goal here is to keep your samples safe and stable, no matter how cold it gets. Using the right vials means you can trust your samples will be just as you stored them when you need them later.
Keeping your science lab organized is key to smooth experiments. Proper storage prevents accidents and keeps your workspace tidy. Discover the best ways to store your lab items and ensure everything is in its place. Visit our website today to find the perfect storage solutions for your needs!
So, getting your lab ready is really about having the right stuff on hand. It’s not just about the big, fancy machines; it’s also the everyday items that keep things moving. Think about safety first, always. Having good protective gear and knowing how to use it makes a huge difference. And don’t forget the smaller things, like gloves and test tubes, because you’ll go through those pretty quickly. Whether you’re just starting out or you’ve been doing this for a while, having a well-stocked lab makes experiments smoother and, honestly, more fun. It’s the foundation for all those cool discoveries you’re going to make.
The most fundamental tools include items for measuring and mixing, such as beakers, flasks, graduated cylinders, and pipettes. These help ensure your experiments are accurate.
Safety gear like goggles, gloves, and lab coats protect you from spills, splashes, and harmful substances. It’s crucial for preventing injuries and keeping your experiments safe.
Microscopes are essential for seeing tiny details, like cells or microorganisms, that are too small to view with the naked eye. Magnifying glasses are also useful for closer examination of surfaces.
Bunsen burners provide a controlled flame for heating, while hot plates offer gentler, more even heating. Test tubes are often used with these for heating small amounts of substances.
Petri dishes are used for growing cultures, centrifuge tubes help separate substances by spinning, and filter paper is used to separate solids from liquids.
Storage bottles are used for keeping reagents, and special cryogenic vials are needed for storing samples at very cold temperatures to preserve them.
 by
by